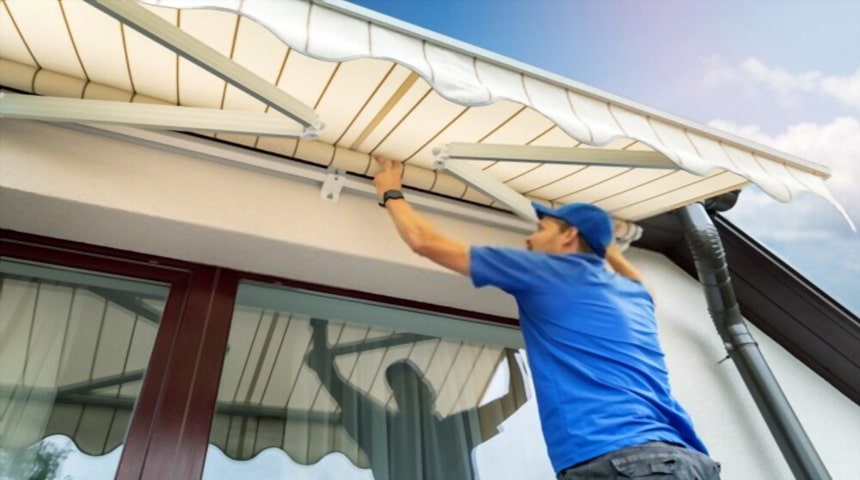
When you go to make your installation of awnings there are many things you should know so that you get to have an excellent result.
For this reason, below, we will tell you everything you need to know to avoid making mistakes in the installation of awnings.
To achieve this, we will give you tips and contacts in case you need help, as some of these awnings can be a little complicated to install.
How many models of awnings are there?
When talking about awnings, you will notice that there are a lot of different models, colours and sizes, this is because each of these models are adapted for different places.
In order to be able to keep track of each of these models, we will briefly describe each of them below.
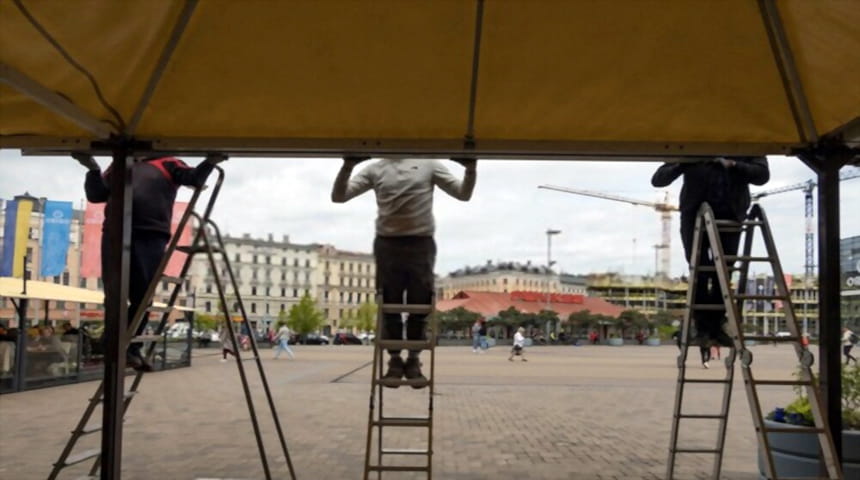
Veranda awning.
This type of awning known as a veranda awning is used for places such as porches, outdoor galleries, among other places that face outdoors. It is motorised and is commonly made to measure.
Installation of a monoblock awning.
It is similar to the veranda awning, with the difference that it can be much larger, as it is designed to be installed in larger areas. This awning is motorised and has arms that extend and retract.
The larger the size of this awning, the more arms should be added to make it easier to operate.
Extending arm awnings.
This extendable awning is one of the most common awnings. It can be installed in a wide range of locations and is easy to install. You can also find it in a wide range of colours to choose from.
Installation of a cassette awning.
This cassette awning has a system similar to the extendable arm awning, with the difference that, when closed, it is stored inwards and does not leave it exposed to deterioration. This helps to conserve the awning to a great extent.
Canopy awning.
The canopy awning is a very popular item in shop entrances, you can find it in many places, as its use is very frequent.
For this item, the installation of canvas awnings is widely used. They come in various sizes and colours, as well as being very eye-catching to look at.
Sail awnings.
If you need to cover an area from the rain, the installation of sail awnings are ideal for this. They are designed to cover large areas so you can enjoy the outdoors without having to worry about the weather.
The garde rain awnings have a motorised system that allows you to extend it or store it when you need it.
All straight stitch.
It is a straight point awning especially for windows or balconies, as it is easy to install, plus you can easily adjust its inclination. You can get them in various sizes and designs.
Vertical awnings.
Vertical awnings are mostly installed in places such as windows, open places or places facing outside.
As you can notice, it is placed vertically, this helps to cover a larger area and can fulfill its function well.
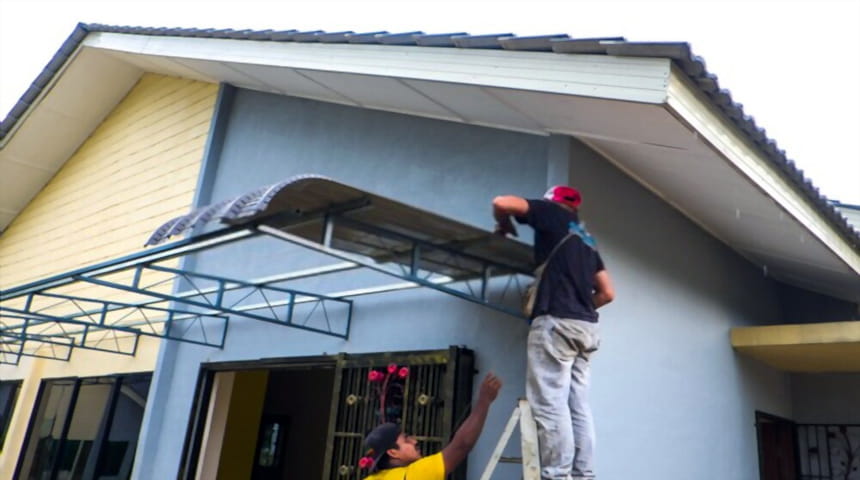
Areas where you can install awnings.
Awnings can be installed in a large number of places, as they come in a large number of presentations.
To find out what type of awning you should install, you first have to see where you want the awning to be.
For example, for a place like a window or a shop entrance, a canopy awning or a straight point awning would be the most suitable.
These awnings are specifically made to be installed in specific places, just as other awnings are made to be installed in specific places.
What to consider when installing an awning?
First, you have to check the area where you are going to install the awning, make sure it is well sized and that the awning you are going to install is the right one for the place.
Keep in mind that some of these awnings can be a bit tricky to install, so make sure you ask for help from an awning installer who is an expert in the field. This way you will avoid a lot of headaches when installing awnings.
You can ask for professional help as well, so you can be sure that the awning will be installed properly.
You can contact awning installation experts at Leroy Merlin, and they will be able to guide you so that your awning is installed in the right way.
Have several tools at your disposal such as screwdrivers, pliers, among others. This will make the installation of the awning faster, because you will have everything at hand.
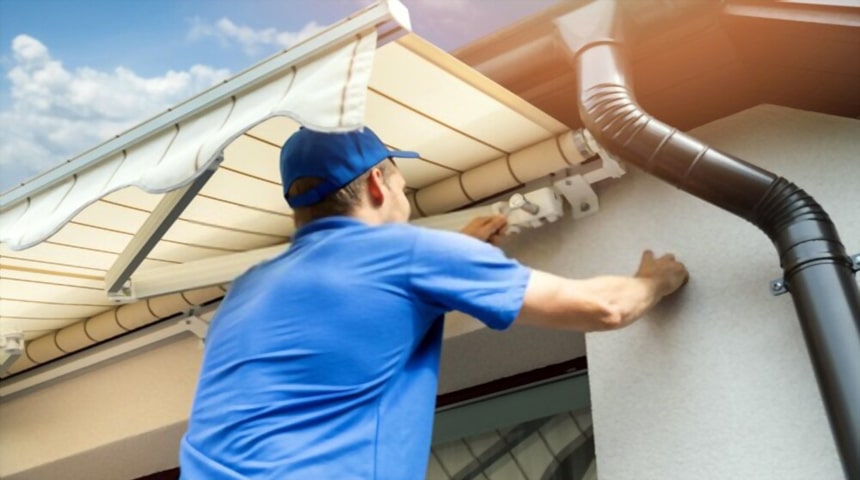
How to place an awning?
In order to know where to place an awning, you must first determine which areas you want to cover or protect, so you can choose the type of awning you need.
A bad installation of an awning can lead to not getting the required result and lead to the area where it was installed not fulfilling what you expected.
Who to contact for the installation of awnings?
For the installation of awnings there are a lot of options that may interest you. But for this job we recommend Leroy Merlin, which is an online site, where you can hire services and buy good quality awnings. Here you will get the best price for awning installation at Leroy Merlin.
The installation of canvas awnings can be a bit complicated, so it is best to have previous knowledge or hire services.
This is so you can enjoy a well installed awning, plus, if you need to hire help for this, the awning installation prices at Leroy Merlin can be convenient and affordable.
Precautions to take into account.
You should be careful when installing any of these products, even if they look easy to assemble, as poor installation can lead to the installed awning being unsafe to use.
Do not hesitate to call in a professional if you feel you cannot do the installation yourself.
When purchasing the type of awning you need, check that all parts are in good condition and that all parts included on the invoice are present.
Read the instructions and follow them, it doesn’t matter if it takes longer, the important thing is that you get your awning installed successfully.
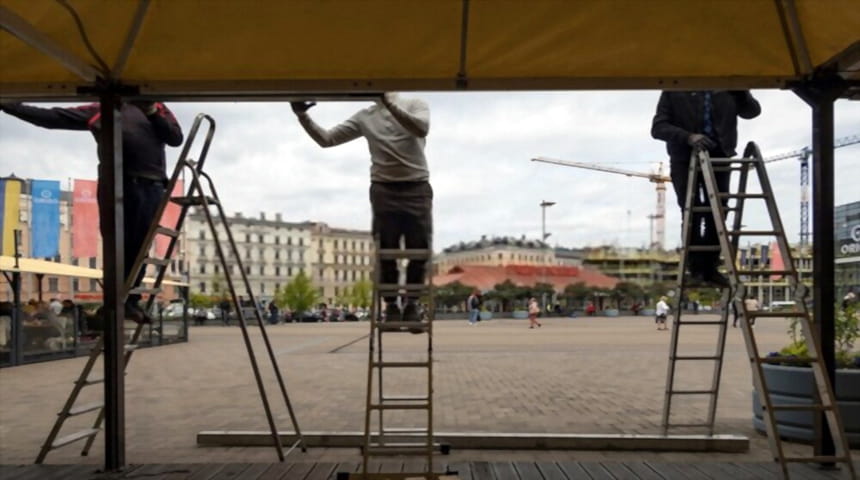
Price of awning installation.
Installation of awnings requires experience and the necessary expertise on the part of the installer, as the installation of awnings, especially in complex cases, is accompanied by numerous nuances. Special professional tools are required for fastening mechanisms with a canvas.
Some types of awnings require precise manual adjustment-calibration, which can only be carried out by a highly qualified installer, while other awnings that require a height adjustment will require an industrial climber.
For a free consultation on the price of installing an awning always call an approved fabricator, as each case is unique.
For the reasons described above, we do not recommend installing awnings on your own, especially as the price of installing an awning is not high.
Correctly, the installation cost is 10 to 15 percent of the cost of the awning structure and depends directly on the complexity of the work performed.
The cost of awning installation may increase in cases where it is impossible to dispense with the involvement of additional specialists (e.g. industrial climbers) or specialised equipment. You should also consider the need for subsequent cleaning of awnings.
Mounting the awning.
In order for the awning to serve for a long time and to have the longest possible service life, it is necessary to pay a lot of attention to the installation of awnings and it is best to entrust it to professionals.
The installation of an awning means not only a long service life, but also the safety of the people who are protected by the awning from the sun.
Installation by experienced craftsmen is especially important when working with awning automation, the additional sensors for lighting, temperature and wind must be configured correctly.
Since the structure of the awning is sufficiently large and balanced, the installation of the awning is not an easy process.
The weight of the product is more than 70 kg and the shape of the frame creates an additional load due to the wind effect.
The mounting of a pergola awning is a particularly important process in the installation, as not all walls are suitable as a base for mounting.
Each fixing must be designed for the load created by the awning, taking into account possible adverse weather conditions.
Installation methods for awnings.
Basket and vertical awnings are the easiest to install. Basket awnings are suitable for installation on any wall, as the weight of the structure is low and the product is wind resistant.
Retractable awnings require a lever to distribute the load, so the minimum wall thickness should be 15 cm. 2-3 experienced and trained people are needed to install a retractable awning.
If the wall for attaching the awning is hollow, special chemical anchors are used which harden and fill the gaps.
A high-quality awning with a width of approximately 4 m has a weight of 70-80 kg, so the fixing of the structure must be careful and very reliable.
It is important to choose fixings that correspond to the type of facade material on which the awning is fixed, the thickness of the facade, possible insulation or waterproofing.
Depending on the composition of the facade, different types of fixings are used: self-tapping screws for a wooden base, anchors and uprights for masonry walls, bolts for through fixings.
Types of awning mounting.
- Wall mounting;
- Fixing to beams and ceiling;
If the façade is equipped with several heaters or plasters, then it is necessary to use metal knots to stiffen the connection between the awning brackets and the supporting structure.
Any structure must be installed exactly on the level, if this is neglected, the fabric during operation of the awning may unintentionally move to one side.
The installation of awnings is a very responsible process, as it is associated with a safe stay under the installed structure.
Therefore, we strongly recommend that you have the awning installed under the supervision of professionals. To have awnings installed, simply telephone a professional awning company.
Awning installation techniques for professionals.
To install the awning, you can use the services of a professional installation team or you can install the awning yourself.
Because the installation of the awning is not difficult. Since the awning is heavy, you will definitely need an assistant.
The installation of awnings is possible in any type of building. Only the awning mounting options differ, depending on the wall material.
Below we will describe the nuances of placing an awning on walls made of different materials and give you detailed step-by-step instructions for installing an awning.
But the aim of this section is not to replace the factory instructions, but to give our readers the most complete idea about the installation of the awning.
First steps to be taken into account by a professional awning fitter.
The installation of the awning should be carried out by professional installers with experience in awning installation, as the service life of the product depends to a large extent on the correct installation of the awning.
The awning factory has a team with many years of experience in the installation and assembly of awnings of any complexity.
First of all, the installation and assembly of the awning begins with fixing the folding mechanism of the awning by means of brackets.
It is impossible to assemble the awning alone, this structure can only be installed with the help of several people.
The awning frame is made of special aluminium alloy tubes. The height of the frame should be selected taking into account the expected load on the facade and the awning structure at the design stage of the structure.
But the design of the awning for subsequent assembly is not possible without taking measurements.
It is worth remembering that it is possible to install and mount an awning on a building of any type. Only the mounting options differ, which depend on the facade materials.
In difficult cases, e.g. with an uneven façade, additional non-standard brackets are used.
Before installing your awning, you must choose the location, install and fix the brackets on the wall, drill holes if necessary and install the awning. The success of the installation depends on all stages.
We look at the wall where the awning is to be installed.
It is not always the case that the wall on which the awning is to be installed is flat and has no protrusions. But this is not an insurmountable obstacle.
Therefore, when mounting the awning, several options of additional brackets can be used, which are selected individually for each case.
First of all the standard brackets are attached to the additional brown ones. By using additional brackets of various designs, you can always solve the problem of installing the awning even on a wall with a complex profile.
We must take into account that the size of the awning exceeds the length of the wall before attaching the logs to the frame.
We specifically give this example to show that such a situation is neither an obstacle nor a reason to use more expensive custom solutions.
Find the safest part of the wall to install your awning.
The main point during the installation of the awning is the secure fixing of the wall brackets to the wall.
Therefore, below are general notes that should be taken into account when attaching brackets to any type of wall:
- After installation, ensure that the brackets are securely attached to the wall so that they cannot be pulled out when the awning is installed;
- Do not attempt to fix the brackets to soft wall stones or other surfaces that are not completely solid;
- Installed brackets must necessarily fit snugly against the surface to which they are attached;
- Use a wooden mallet to avoid damaging the anchor bolts.
- If it is necessary to drive in the anchor bolts with a hammer, it is recommended that the nut is screwed on slightly to avoid damaging the threads of the bolts.
- Tighten the bolts securely with a 19 mm hexagon spanner. It is best to use a letter letter, not an open-end spanner.
Next, we consider various mounting options depending on the wall material.
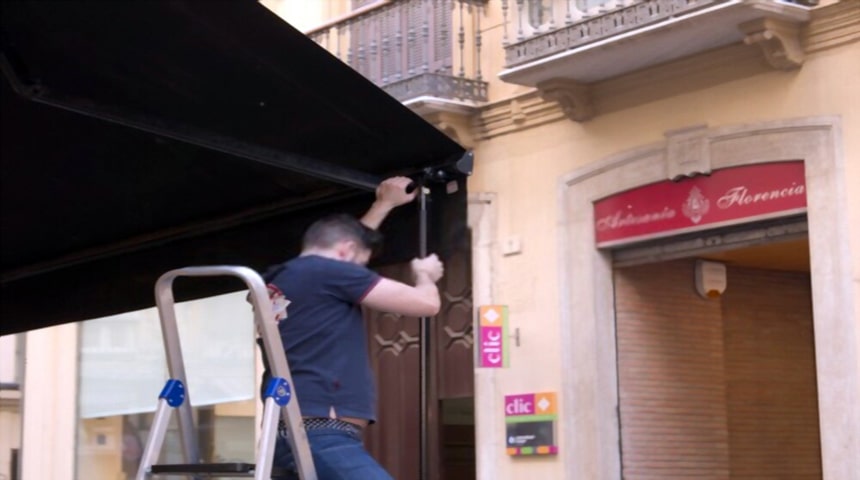
Installation of awnings on a brick or concrete wall.
For fixing to a concrete or brick wall, anchor bolts are used, which are included with the awning. Always during the installation of wall brackets using anchor bolts.
Important when installing awnings:
- The depth of the holes for the anchor bolts must be 9 cm.
- Use a 16 mm drill bit for drilling.
- Do not drill holes at the junction of bricks or blocks. This will not secure the awning securely.
Installing awnings on a timber stud wall.
The awning can be installed on a log, simple beam or glulam structure if the wall thickness is sufficient to support its weight. Be sure to ensure that the brackets are securely fastened to the wooden wall. When mounting to a wooden wall, it is important to note the following points:
- The anchor bolts included in the kit are not intended for fixing the awning to a wooden base. Instead, it is necessary to use a special grouse wood screw with dimensions of at least 12×90.
- To fix the grouse, it is necessary to pre-drill a hole approx. 10 mm deeper than the grouse and with a diameter of ~ 70% of the diameter of the grouse, i.e. on the inside diameter of the threaded part.
- To facilitate the twisting of the grouse, you can lubricate the end of the threaded part of the grouse with oil beforehand.
Installation of awnings on the wall of a wooden house.
It is possible to attach the awning to the wall of the wooden house. Taking into account the design features of frame houses, the awning is fixed to the walls directly on the supporting beams of the frame or on additional auxiliary elements fixed to the frame.
5 steps for the installation of awnings.
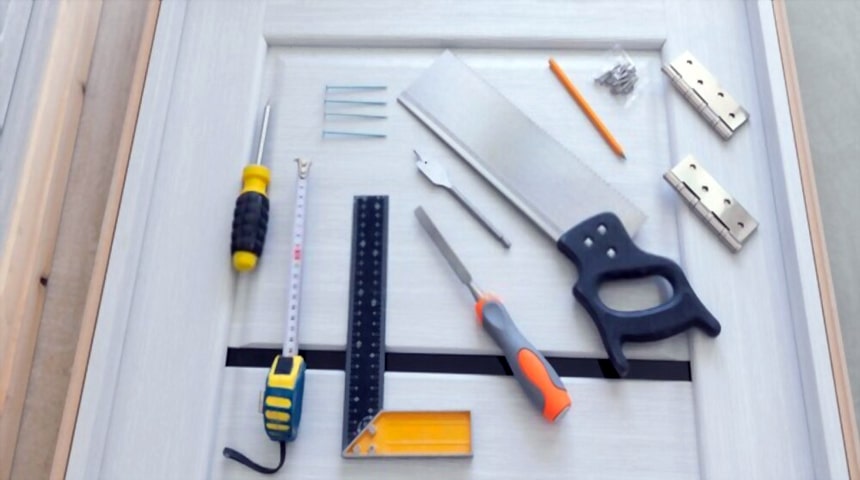
1. Choice of the installation site.
Having chosen the awning installation site, it is necessary to think about the height of the awning beforehand by lowering the awning.
The drop angle of the awning set is 10°-13° depending on the model.
If you plan to install an awning over a door, the minimum distance from the main profile to the door frame must be at least 20 cm.
2. Installation of wall brackets.
The installation of the brackets is the most crucial moment on which safety and correct installation depend. Fixing place.
It is necessary to draw a horizontal line on the installation surface, marking the places where the brackets are attached.
For the installation of a cassette awning, these places are marked on the body of the awning with arrows. For other types of awnings, the brackets are mounted on the main profile.
3. Drilling holes for the installation of awnings.
For an elbow awning, you need to use a 16 mm drill and for a 14 mm cassette, a pobedit drill. The depth of the holes should be at least 9 cm. It is important to note that the holes must be drilled through solid brick or concrete. Drilling holes in the joints will not secure the brackets securely.
When installing the awning on wooden houses, screws of appropriate length and diameter should be used. Anchor bolts are not intended for attachment to wooden bases.
4. Fixing the brackets to the wall.
If you use anchor bolts, use a wooden mallet. A metal hammer can damage them. To avoid damaging the bolt threads, you can screw the nut on a few turns beforehand.
Important, after installation, the brackets must fit snugly against the wall and the nuts must be tightened securely. Be sure to check that the brackets are secure before installing the awning.
5. Installation of awnings by an expert.
At this stage, it is necessary to fix the awning to the brackets. For an arm awning, it is necessary to carefully move the awning to the right and to the left to make sure that the carrying beam enters the brackets, it may be necessary to loosen the brackets to the wall so that they can be moved slightly.
Insert the securing bolts into the front side of the brackets and tighten the nuts. Make sure that the safety bolts and the wall brackets are securely fastened.
As you can see, there are many things to consider when carrying out an awning installation and doing it correctly. Remember that purchasing an awning can be very advantageous thanks to its many uses.

